
Since this was our first time picking the materials and doing all of the painting ourselves, we wanted to share a few tips, tricks, and tools that we found extremely helpful along the way. We won’t gatekeep anything 🙂.
1. Be flexible on how long it will take:
So let’s talk about how long the painting process took (so far) since we are complete amateurs. We did two separate spurts of painting that we squeezed in between meetings, after work, and on weekends that in total…took about a month. This process also involved removing textured wallpaper in the living room–more on that later though. We were quickly humbled on our expectations when our bedroom and bathroom took an entire weekend on it’s own. Other spaces just took longer due to needing to prep the spaces (removing wallpaper, covering and moving furniture, figuring out how to paint 20 foot ceilings, etc.) and that really ate into our timeline as well. We had to adjust our expectations for the other spaces and give ourselves more time so our spirits stayed in a good space. So TL;DR, don’t beat yourself up if the painting process takes a bit longer than expected. We’re all learning together!
2. Research your paint and primers and switch directions if needed:
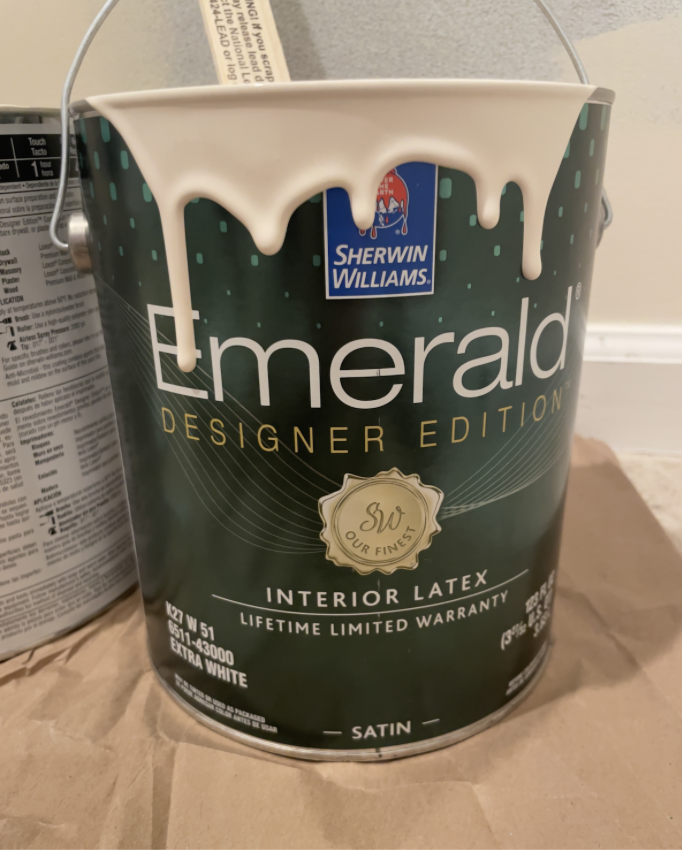
We decided to go with Sherwin Williams for our paint for this project for a few reasons:
- High quality paint at a reasonable price.
- Variety of colors, great paint consistency, and very low odor. We’re super sensitive to smells so the low/no odor was fantastic.
- We live by several locations and wanted options in case one location ran out of a base that we needed. We ended up needing to visit 3 total during our painting project. All locations greeted us with the same friendly service!
Don’t stress too much about getting all of the paint that you think you might need at the same time. If you think a room will take 5 gallons, just get the 5. We had to go back several times to buy more paint and we didn’t experience a color discrepancy between batches. See our blog post <here> on what colors that we chose and their sheens.
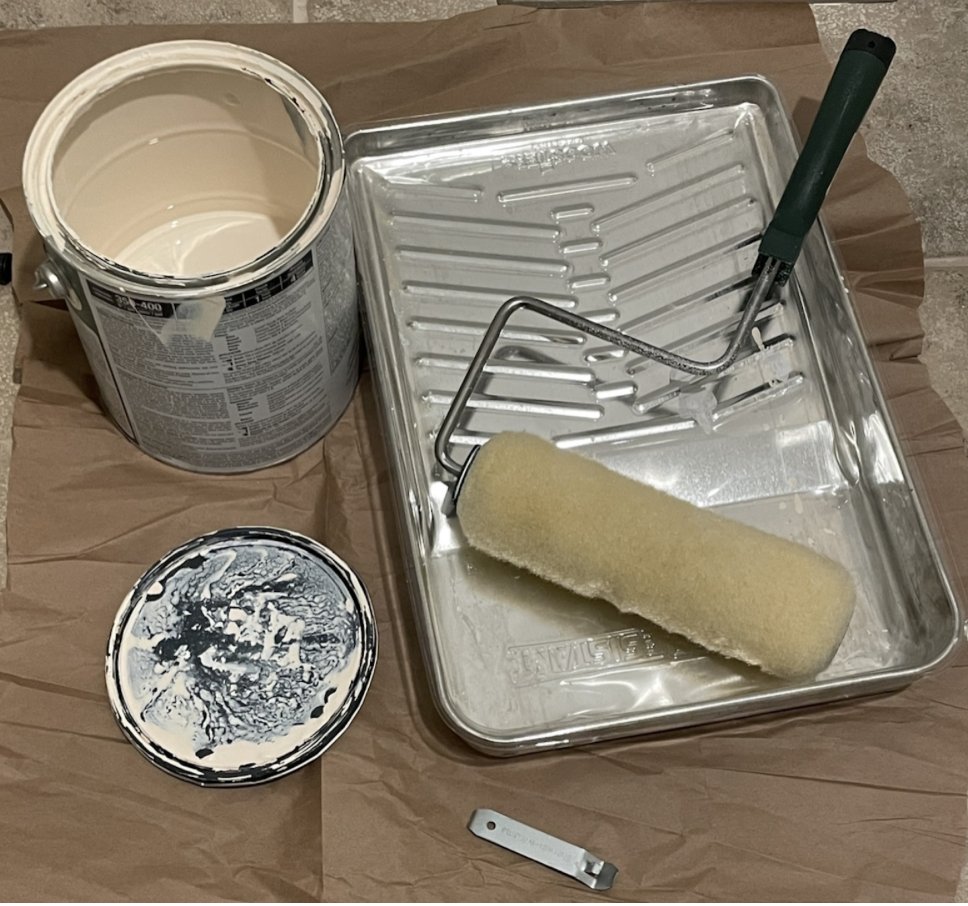
For the primer, we ended up trying two. First was the KILZ PVA Primer and the second was Gildden Drywall Primer (ok to use over paint too). They are very similar in price but we preferred the KILZ 100%. We needed far less touch ups and we felt that it went on the walls much easier. We only primed a few areas but looking back, we should have done far more priming to bring our original chocolate brown walls to the light golden beige that it is now.
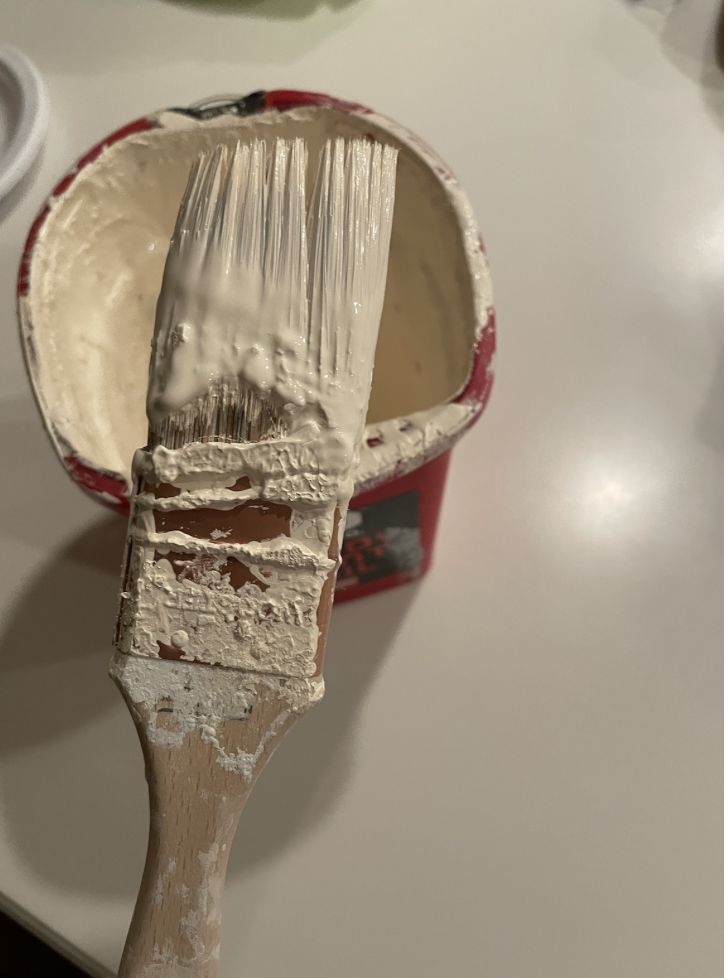
3. Get your tools prepped and ready and SKIP THE TAPE!!!
For rollers, we used these Wooster shed resistant rollers. To prep rollers, just wrap them with tape, squeeze, and unroll. This will take out any fuzz that may linger so you won’t have any on your walls. We also grabbed a few of these brush packs from Home Depot too. K.C. and I had our preferences for the brush tips so having a few choices on hand was perfect. And at the end of the painting day, don’t skip when it comes to properly cleaning your tools. We got a little lazy some days and had some VERY stiff brushes the next day. Trust us, it’s worth it to take the extra few minutes to make sure all the paint is gone. I am also very unkind to my brushes so please do better than me. But if you are also a bit messy, this is a safe space 🙂.
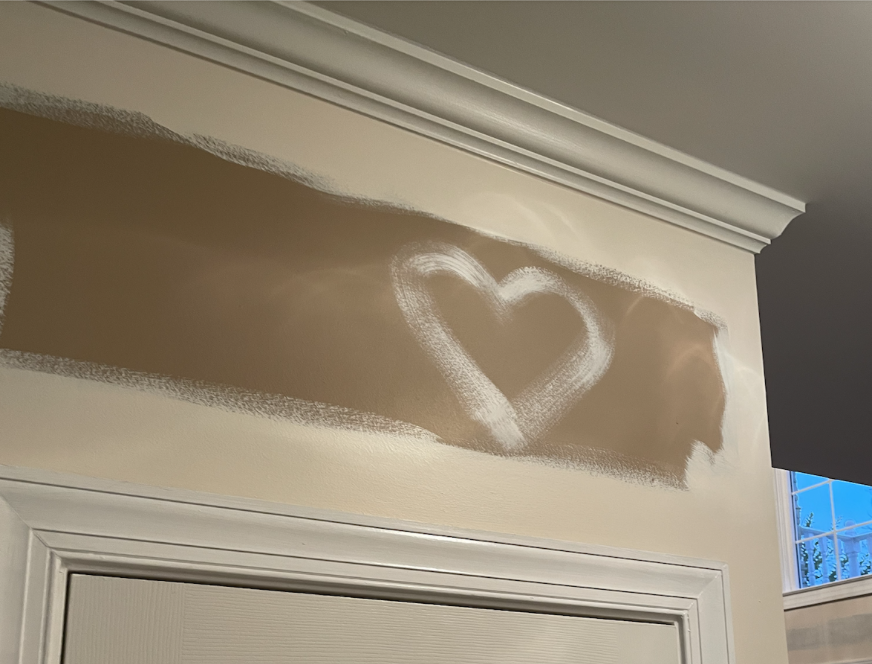
We 1000000% also recommend just skipping the painter’s take all together. For us, it just felt like a total time suck for having to add that extra step of prep. If you have a good brush that holds up well and a patient hand, you should not get paint anywhere you don’t want it to go. We also have plans to rip up the moulding down the road so we were not as stressed-so that helped too!
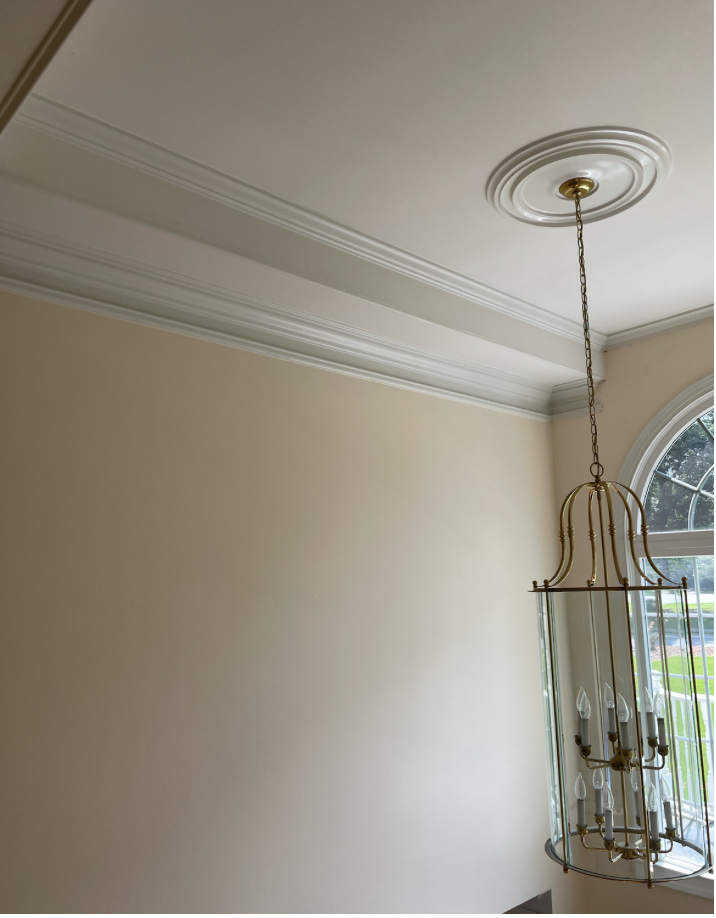
I mentioned before that we had to plan how to paint our lovely 20 foot ceilings in the foyer. We contemplated hiring someone for that portion but didn’t want to spend the extra money for such a small space. So we purchased a pole extender from Amazon and that was a life saver. It was a great buy at less than $70 and reaches a length of 24 feet. We were able to put this brush clamp from Amazon as well at the top and do the edging too with no issues at all. That area was a challenge with the height but we are obsessed with the results. Plus, it is a nice brag for when guests visit and ask “how did you paint THAT?”.
4. Do all of your cutting/edging first before moving onto the walls.
We highly recommend doing two coats of your edging first before you do the walls. Depending on how big the room is, by the time you are done with the first coat…you are ready to go straight into the second coat! This helped our wall work go a lot faster since the top and bottom portions were covered already. And really, it was so satisfying to get the more tedious part of the job done first and breeze through the easy part.
All in all, the biggest tip that we can offer is to just be patient with yourself. We had to adjust our expectations for timelines, re-purchase tools and paints several times, and it can wear thin when your home looks like a huge mess for days/weeks at a time. But thankfully, when we tackle the last few rooms, we have a far better grasp on what we need, how much we need, and to buffer in a little bit of extra time.
Thank you for catching up on some tips, tricks, and tools that we found helpful and hope it can help make your next interior paint job a tad easier. If you would like to be notified when new posts are available, feel free to sign up for our email list.
Have a great day!
Melanie and K.C.